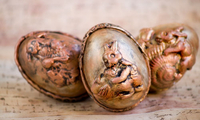
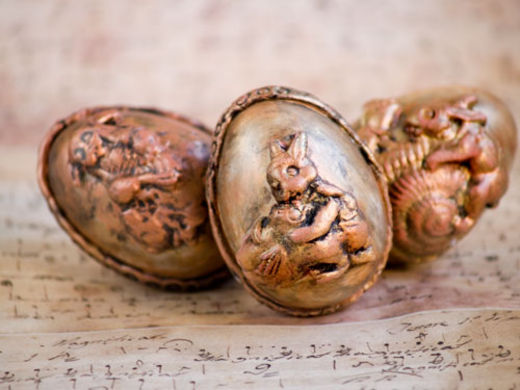
Vintage eggs with coppery shine
You like renaissance?
Use modelling clay to make effective eggs with relief Easter motifs.
You will need: plastic eggs, modelling clay in terracotta shade, moulds with Easter motifs, Decorlack in black and copper shade, glue, paper tissue.
Instructions:
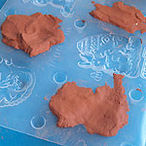
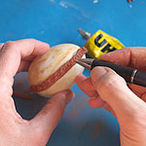
1 Use your hands to soften the modelling clay and then fill up the moulds. Use a knife to remove the extra mix while it is still wet.
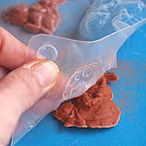
2 After pressing it, take it carefully out of the mould.
3 Roll out a thin cane (like an earthworm) from the wet mix, wrap it around the egg and then glue it with glue. Use a ball pen or a straw to imprint the decorations.
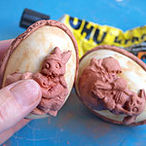

4 Glue the bunnies while the mix is still wet so they adjust to the egg shape. Leave it to dry 24 hours.
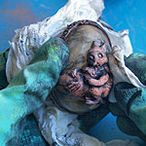
5 Dip a sponge into black paint and colour the whole egg and decorations. The paint should cover all the crevices.
6 Quickly dry it with a cloth or a paper tissue. Black paint will remain only in the crevices which will give an antique image to the decorations.
Important: You should do this fast since the paint dries quickly.
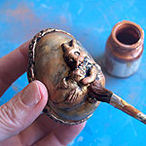
7 For final touch dip a brush into copper paint and randomly with light strokes spread copper paint on the whole egg.
Made by: Višnja Skorin